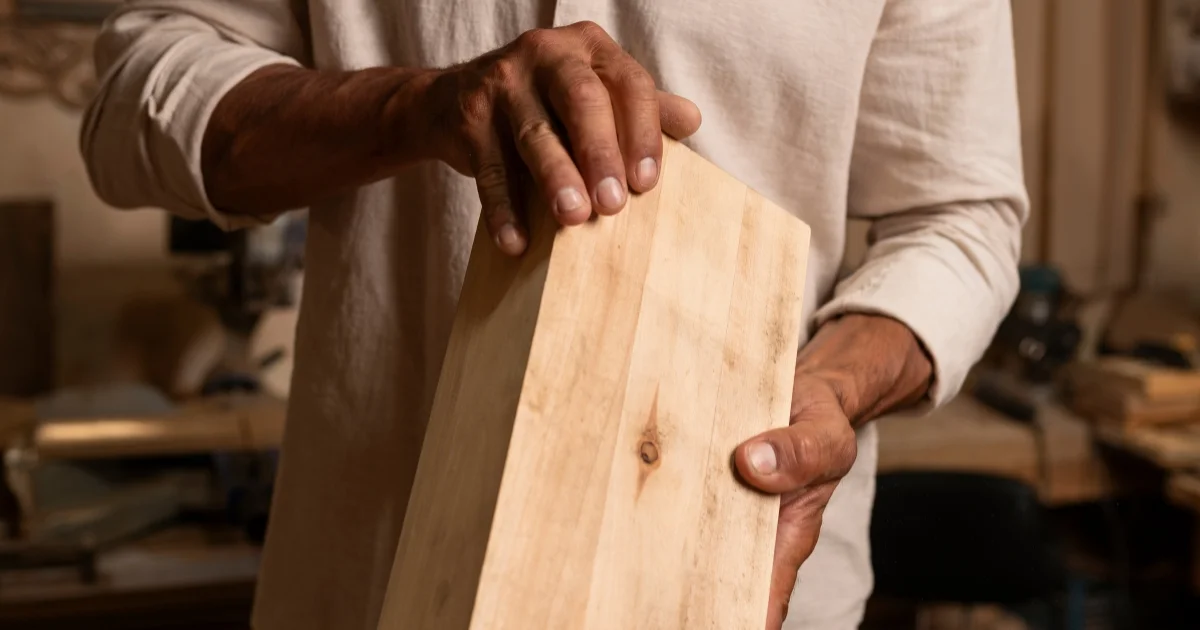
Plywood vs. Solid Wood: Which is Best for Your Project?
|
Thursday, May 15, 2025
Pros and cons of plywood and solid wood for woodworking projects based on budget, durability, and design.
Learn more about Plywood vs. Solid Wood: Which is Best for Your Project? >>
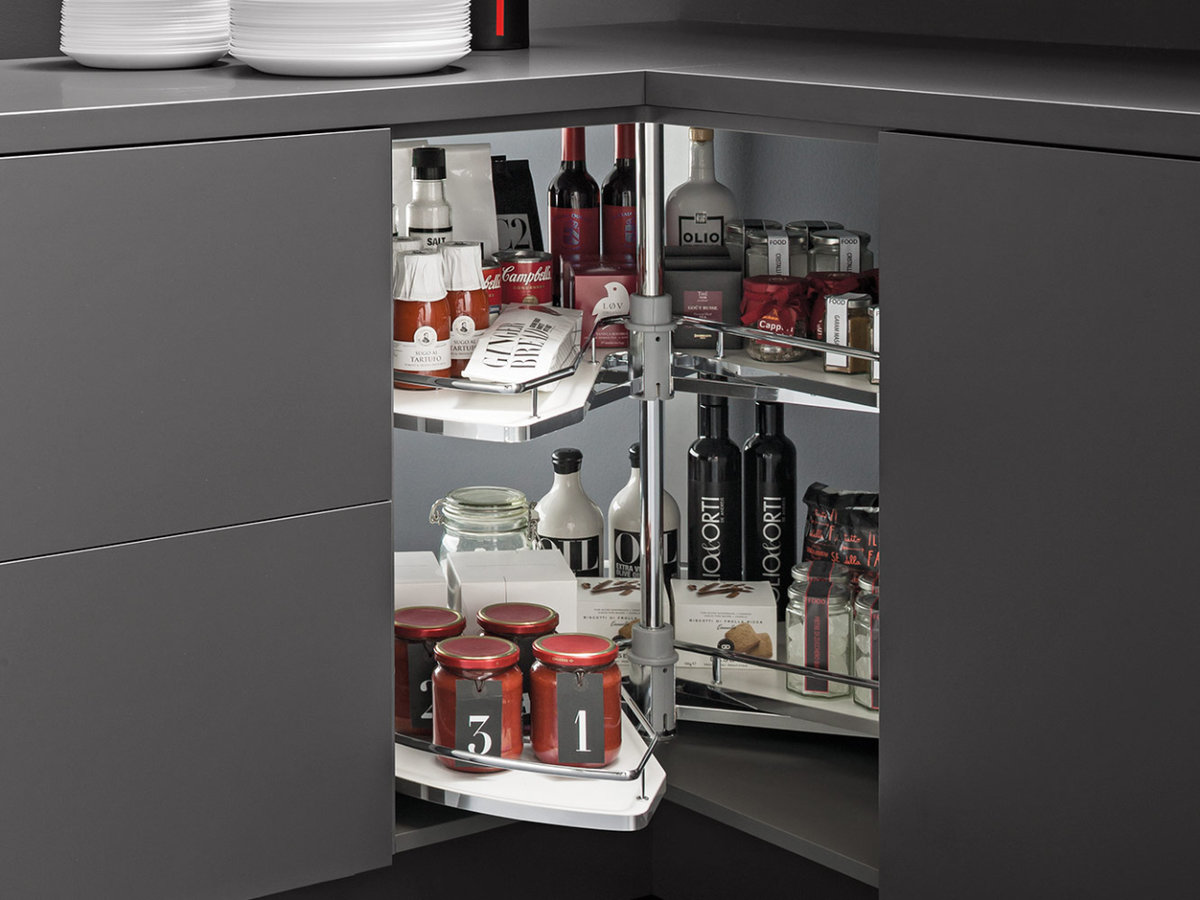
Maximizing Space with Smart Corner Cabinet Accessories
|
Tuesday, December 10, 2024
Learn how to make the most of your next cabinetmaking project with smart corner cabinet accessories.
Learn more about Maximizing Space with Smart Corner Cabinet Accessories >>

The Wooden Kitchen Revival Why Wood Cabinetry is Back
|
Wednesday, August 21, 2024
Wood kitchen cabinets are back! Discover why homeowners are choosing wood cabinetry and how you can capitalize on this growing trend.
Learn more about The Wooden Kitchen Revival Why Wood Cabinetry is Back >>
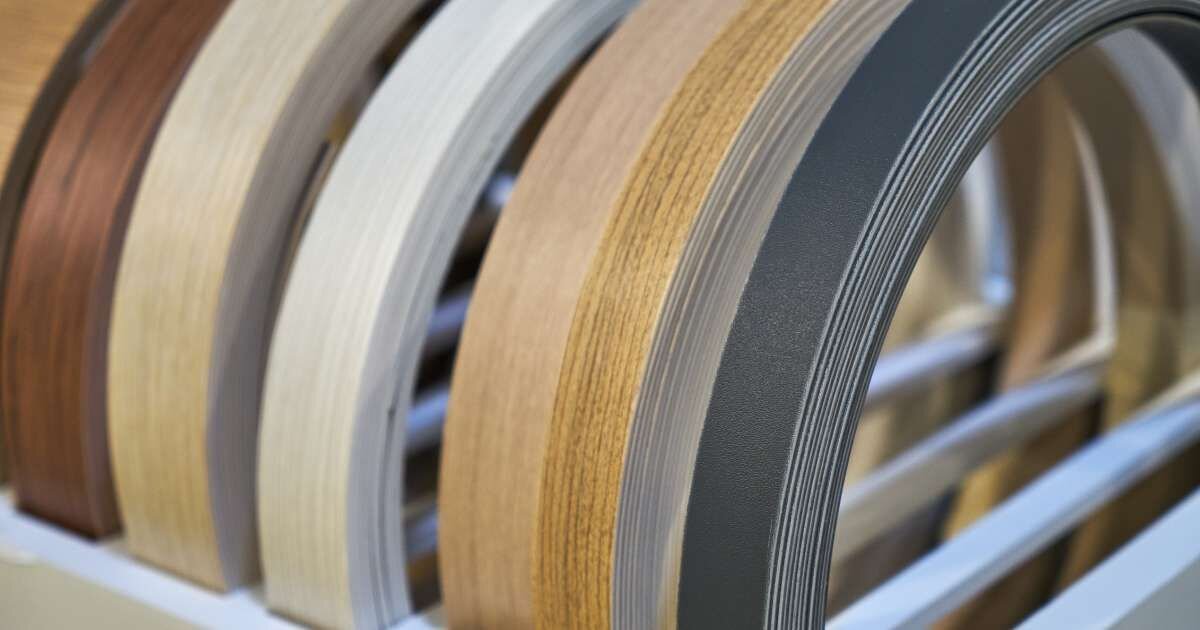
The Art of Edgebanding with Wood Veneer and PVC
|
Tuesday, May 7, 2024
Wondering what materials to choose, about the best adhesive to use, or just looking for tips? Learn more about veneer and pvc edgebanding.
Learn more about The Art of Edgebanding with Wood Veneer and PVC >>
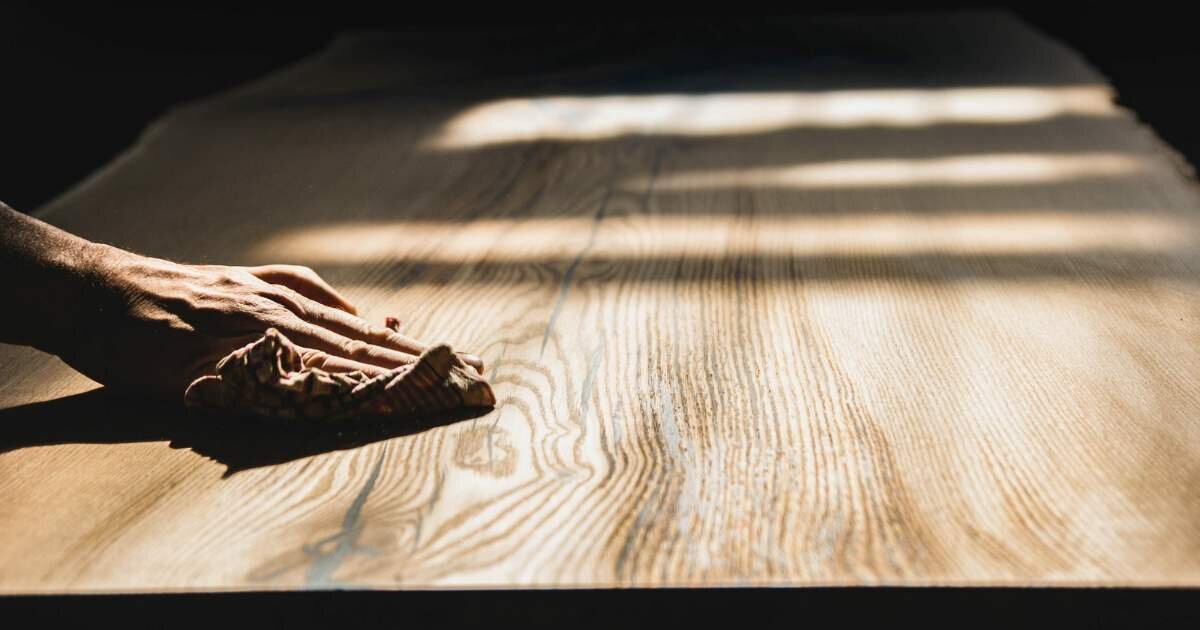
Crafting with Oak: A Timeless Choice for Woodworking Projects
|
Tuesday, March 19, 2024
All you need to know about oak wood qualities for woodworking projects. Learn about how oak stands up to other types of wood when it comes to crafting.
Learn more about Crafting with Oak: A Timeless Choice for Woodworking Projects >>
Authors
Name: Sam Drake
Posts: 8
Last Post: May 15, 2025
Archive
-
2025
-
2024
-
December
-
August
-
May
-
March
-
February
-
January
-
-
2023
-
October
-
August
-
July
-
May
-
April
-
March
-
February
-
January
-
-
2022
-
October
-
September
-
August
-
July
-
June
-
May
-
-
2021
-
December
-
April
-
Tags
Everything
Craftsmen Hardwood Inc.
PO Box 280 Drayton, ON
N0G 1P0
PO Box 280 Drayton, ON
N0G 1P0